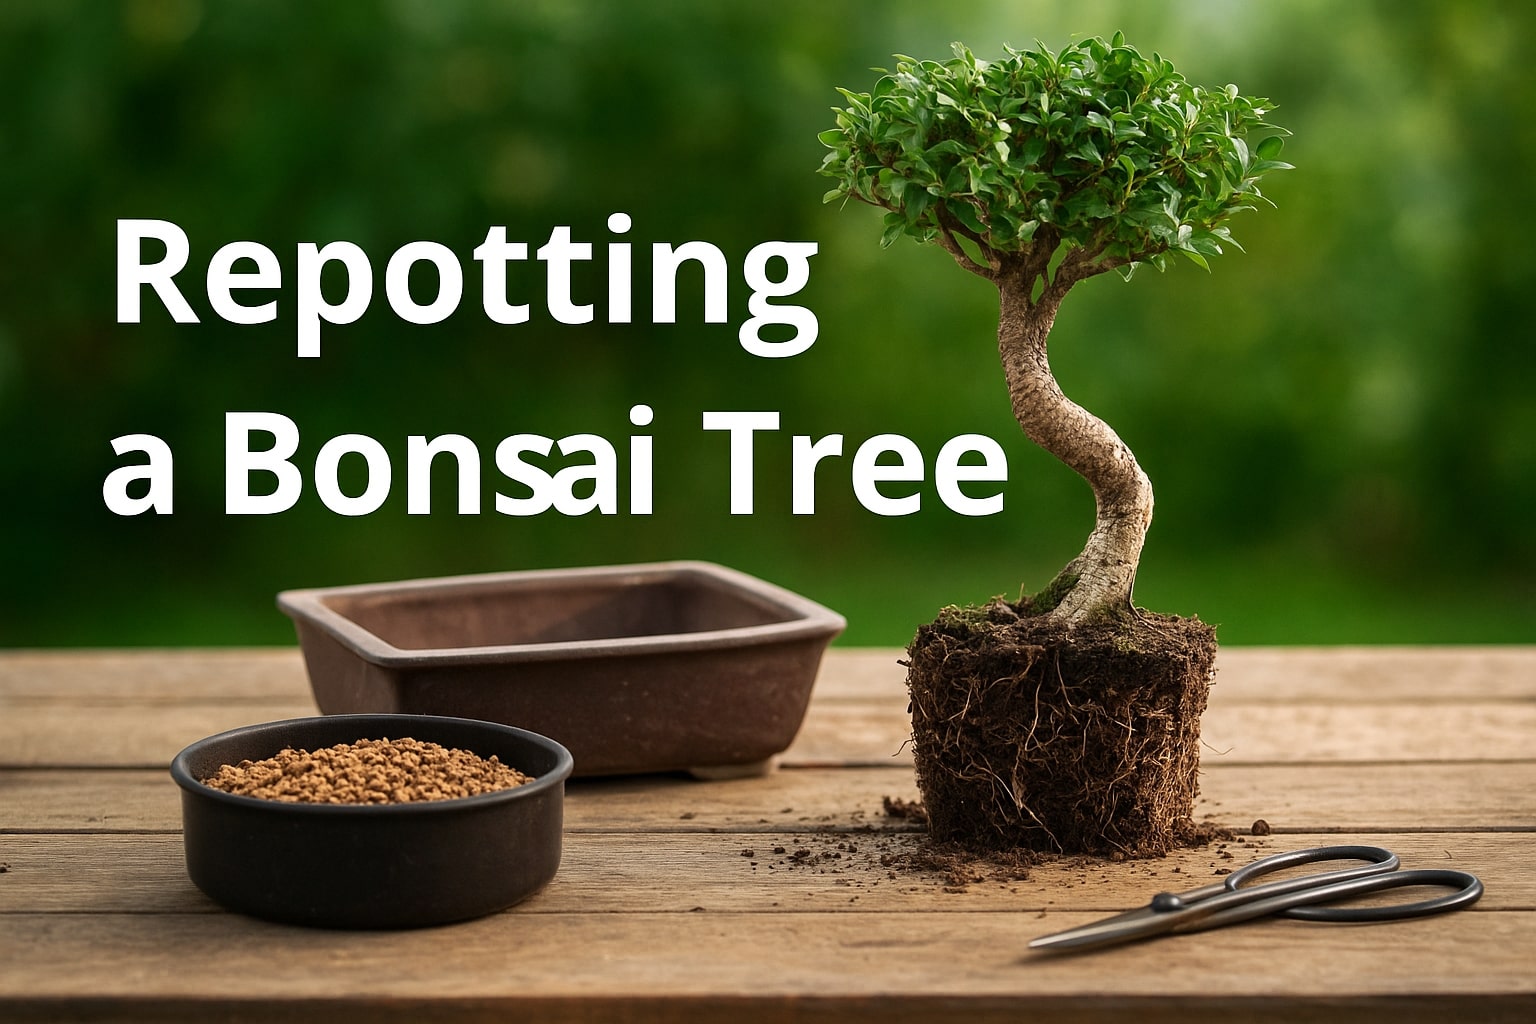
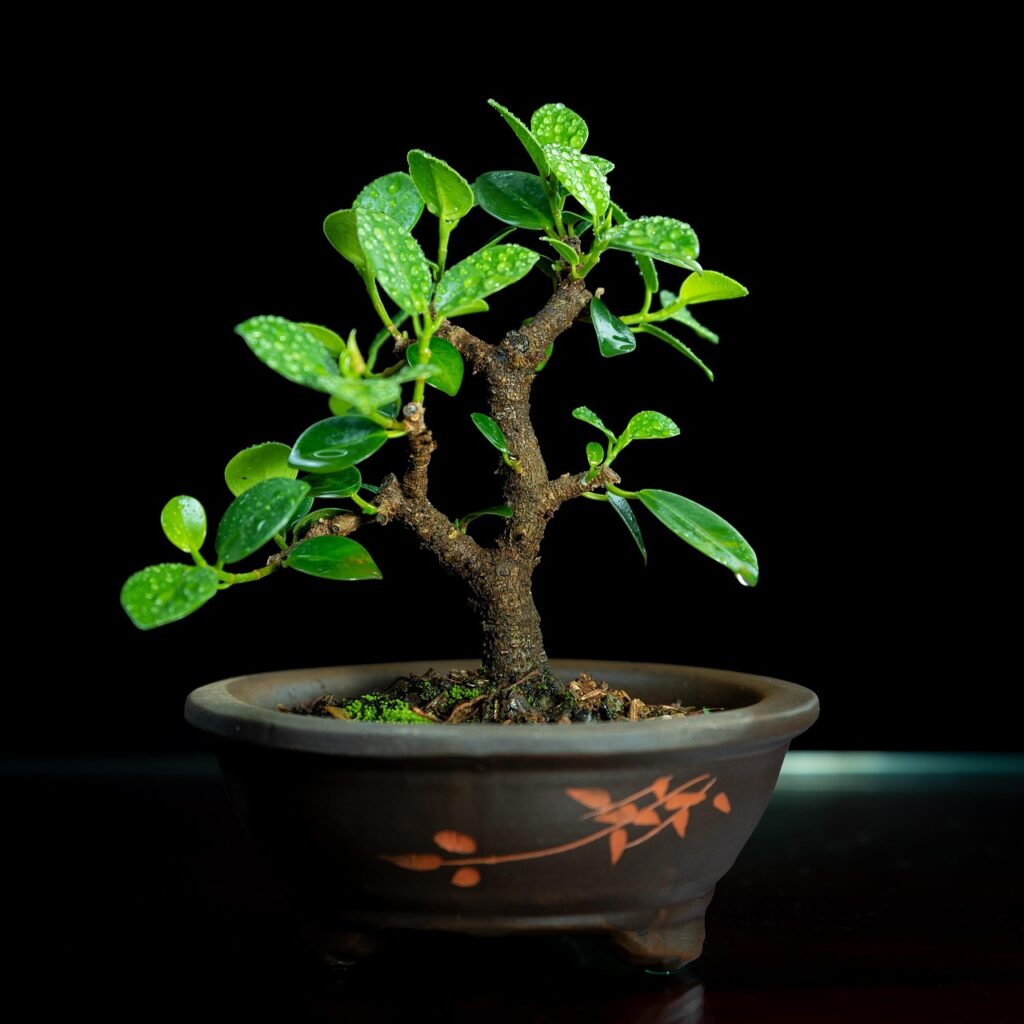
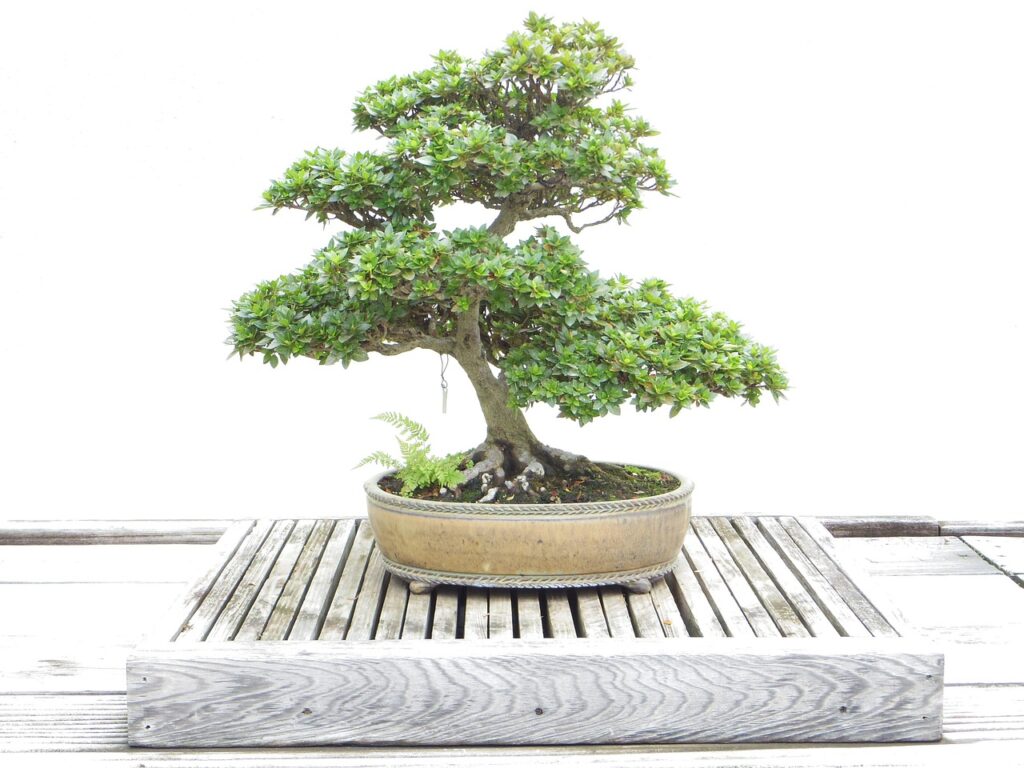
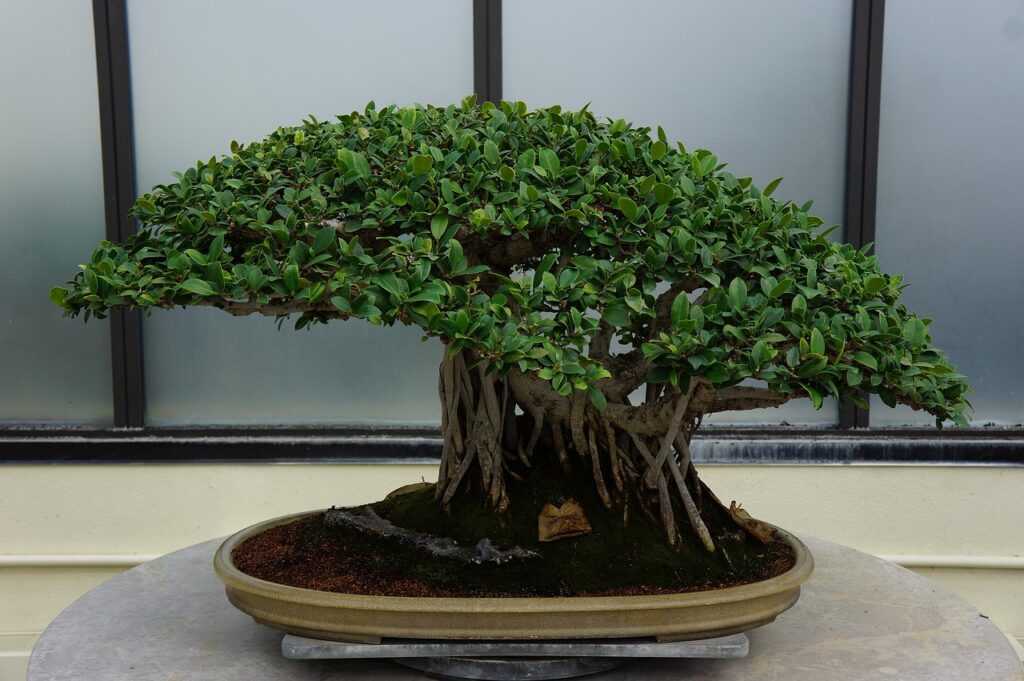
Caring for a bonsai is a continuous journey of patience and precision. Among the many essential practices that ensure its long life, repotting a bonsai tree stands out as one of the most important. While it might seem daunting to unearth and trim the roots of such a delicate creation, repotting is what keeps your miniature tree healthy, nourished, and full of life.
This guide will walk you through the reasons for repotting, how to know when it’s time, and exactly how to do it without stress, for both you and your bonsai.
Table of Contents
Why is repotting a bonsai tree important?
Unlike trees in nature, a bonsai’s root system is confined to a small pot. Over time, those roots grow dense and tangled, eventually filling every available space. When this happens, the soil loses its ability to hold oxygen and water effectively, leading to poor drainage, suffocation of roots, and reduced nutrient absorption.
Repotting a bonsai tree addresses all of these issues by providing fresh, aerated soil and allowing you to prune excess roots. This process encourages new, healthy root growth and restores balance between the roots and the tree’s canopy.
Think of it as giving your bonsai a new lease on life. Without regular repotting, even the healthiest-looking bonsai can eventually weaken and decline due to compacted soil and nutrient deprivation.
When to repot your bonsai
The timing of repotting a bonsai tree can make all the difference between helping it flourish and putting it under unnecessary stress. The best time is late winter to early spring, just before new growth begins. At this stage, the tree’s energy is stored in the roots, and pruning them won’t interfere with the growth of new leaves and branches.
However, different species have different rhythms. For example:
- Deciduous trees (such as maples or elms) should be repotted before their buds open in early spring.
- Evergreen trees (such as junipers or pines) prefer slightly later repotting, once temperatures start to rise and frost risk has passed.
- Tropical bonsai can be repotted at almost any time of year, provided they are kept in a stable, warm environment.
If you’re unsure whether it’s time, inspect your bonsai’s roots. Gently lift it from the pot — if you find the roots tightly coiled and circling the base of the pot, or if water drains slowly, it’s a clear sign that your bonsai needs repotting.
Most bonsai require repotting every two to three years, though faster-growing species may need annual attention.
What you’ll need before repotting a bonsai tree
Preparation is key to repotting a bonsai tree successfully. Having the right tools and materials ready will help you move efficiently and safely through the process.
Essential tools and materials for repotting a bonsai tree:
- Pruning shears or scissors: For trimming roots cleanly without tearing.
- Root rake or chopstick: To gently untangle and spread the roots.
- Mesh screens: To cover drainage holes and prevent soil loss.
- Bonsai wire: To secure the tree within the pot during recovery.
- Fresh bonsai soil mix: The specific mixture will depend on the tree species, but a balanced mix should include akadama (for water retention), pumice (for aeration), and lava rock (for drainage).
- Watering can or spray bottle: To moisten the soil before and after repotting.
Preparing the new pot:
Clean your chosen pot thoroughly and place mesh screens over the drainage holes. Thread wire through the holes to anchor the tree later. A clean, ready pot ensures a smooth transition and prevents introducing disease or debris to the roots.
Step-by-step guide to repotting a bonsai tree
Repotting a bonsai tree doesn’t have to be stressful if you follow a clear, calm process. Here’s a detailed breakdown to guide you:
1. Remove the bonsai from its pot
Gently tap around the edges of the bonsai pot and ease the tree out, being careful not to damage the roots. If it’s stuck, slide a root knife or thin spatula along the inside to loosen the soil.
2. Inspect the roots
Once the tree is out, take a close look at the roots. Healthy roots should be pale and firm. If they appear brown, black, or mushy, trim those sections away; they’re likely dead or rotting.
3. Untangle and prune the roots
Using a chopstick or root rake, carefully tease out the old soil from between the roots. Trim about one-third of the total root mass, focusing on long, thick roots that encircle the pot. This encourages fine feeder roots to grow, which are essential for nutrient absorption.
4. Add a base layer of fresh soil
Add a layer of bonsai soil mix to the bottom of your clean pot. Form a small mound in the centre where the roots will rest. This helps spread them evenly and prevents air pockets.
5. Position the tree
Place your bonsai slightly off-centre for a natural look, balancing the tree’s canopy visually with the pot’s shape. Secure it gently with bonsai wire threaded through the drainage holes, especially for trees with heavier tops or recently pruned roots.
6. Add soil and settle the tree
Carefully add more soil around the roots, using your chopstick to push it into the gaps. This ensures the tree sits firmly without loose areas that could trap air. The soil should reach just below the pot’s rim.
7. Water thoroughly
Finally, water the bonsai slowly and deeply until water flows out of the drainage holes. This settles the soil and helps remove any remaining air pockets.
Aftercare and recovery
Your friend will need some time to recover after repotting a bonsai tree. During the first few weeks, keep it in a shaded, wind-protected area, away from direct sunlight and extreme temperatures. This reduces stress on the newly pruned roots.
Keep the soil evenly moist but not waterlogged, and avoid fertilising for about a month — the fresh soil provides enough nutrients, and adding fertiliser too soon may burn the delicate new roots.
Within a few weeks, new shoots or leaves should begin to appear, indicating your tree has successfully adapted to its refreshed environment. You can then gradually return it to its usual spot with adequate sunlight and airflow.
Common mistakes to avoid when repotting a bonsai tree
Even experienced enthusiasts occasionally run into challenges when repotting a bonsai tree. Here are a few common pitfalls to watch out for:
- Repotting too frequently: Over-repotting can disturb root stability and slow growth. Stick to the species’ recommended intervals.
- Using poor-quality soil: Regular garden soil compacts easily and suffocates roots; always use a specialised bonsai mix.
- Trimming too many roots: Aggressive root pruning can shock the tree; remove no more than one-third at a time.
- Skipping aftercare: Neglecting shade, watering, or rest time after repotting can undo all your careful work.
By staying mindful of these points, your bonsai will recover quickly and reward you with lush, healthy growth.
Nurturing balance through repotting
Repotting a bonsai tree is an act of renewal, a vital rhythm in the bonsai caretaker’s calendar that mirrors the cycles of nature itself. It’s more than a maintenance task; it’s a mindful ritual that restores balance and ensures your miniature tree thrives for years to come.
Every successful repot strengthens the relationship between you and your bonsai. With patience, the right tools, and an understanding of timing, you’ll discover that repotting is not a disruption to your tree’s life; it’s a celebration of it.