
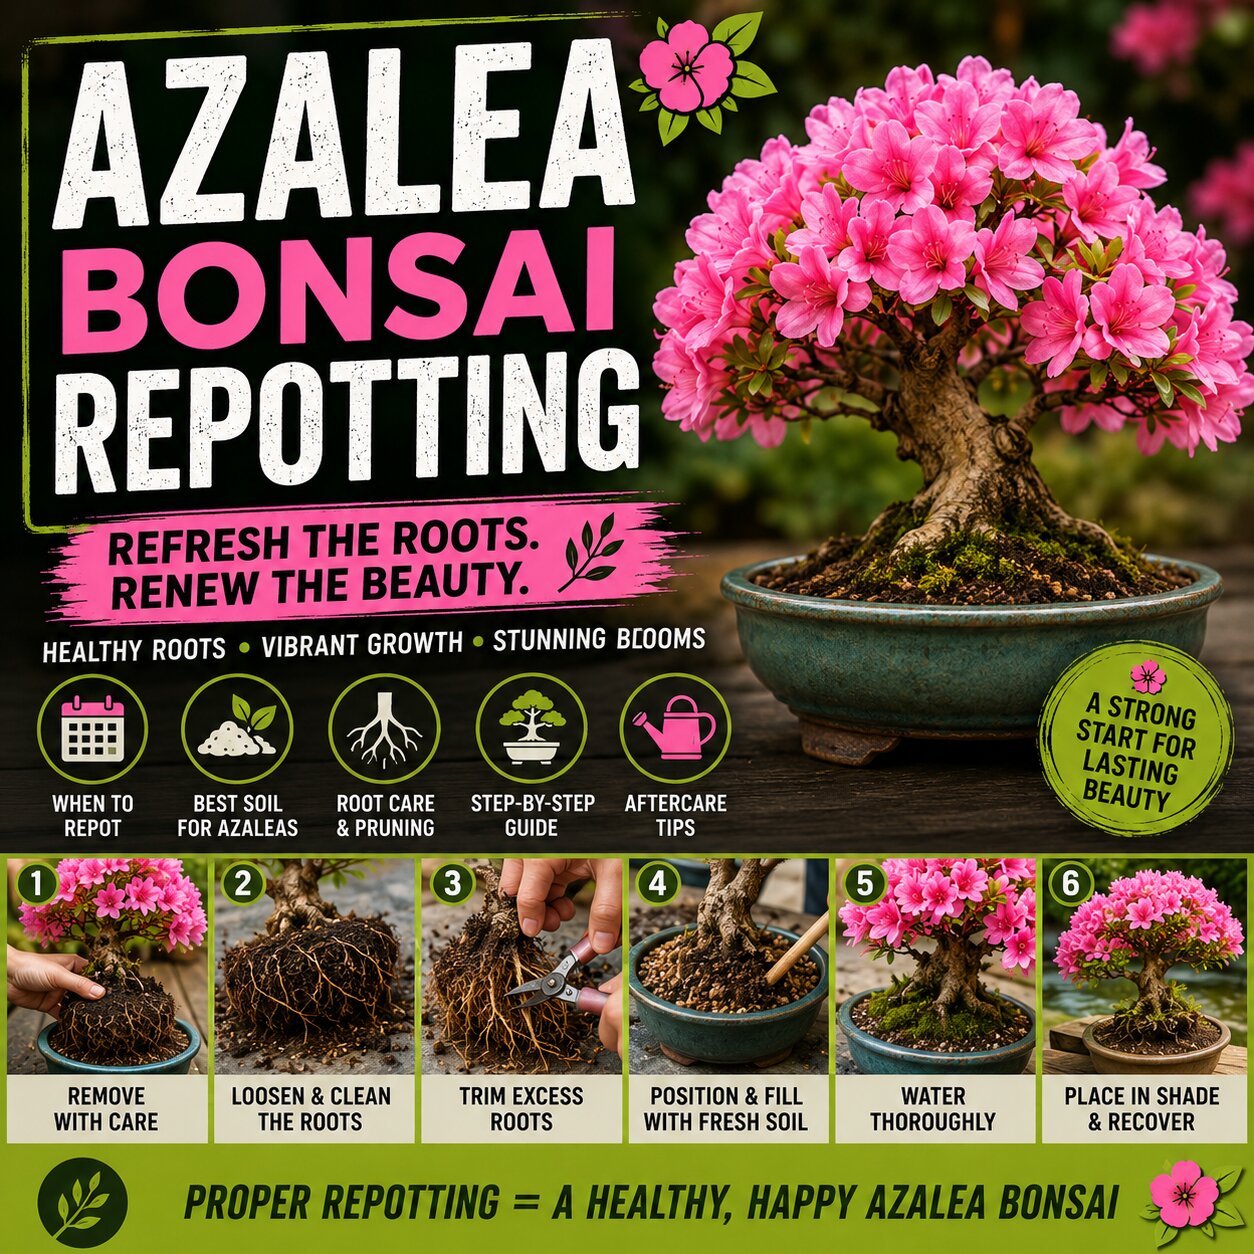
Azalea bonsai repotting is one of the most important maintenance tasks for keeping your tree healthy and flourishing. While azaleas are renowned for their spectacular blooms, they also rely on a healthy root system to support vigorous growth. Repotting at the right time helps refresh the soil, encourages fine root development and ensures your bonsai continues to thrive for years to come.
In this guide, we’ll explain when to repot your azalea bonsai, how to do it safely and the aftercare your tree needs to recover successfully.
When Should You Repot an Azalea Bonsai?
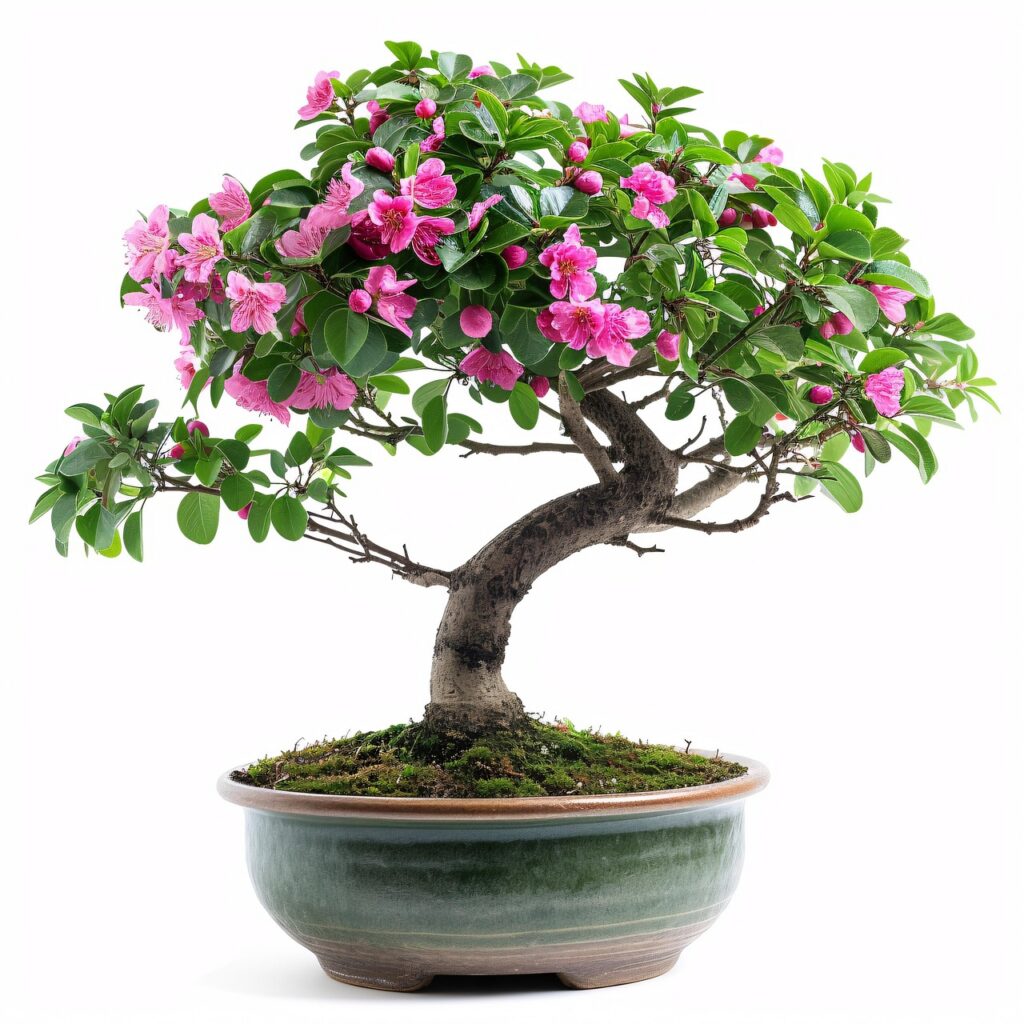
Timing is everything when it comes to azalea bonsai repotting.
The ideal time is usually just after flowering, when the blooms have faded but before the tree enters its strongest period of new growth. This allows the roots to recover while the tree has plenty of energy available to establish itself in fresh soil.
Younger azalea bonsai generally benefit from repotting every two to three years, while mature specimens may only require repotting every three to five years. Rather than following a strict schedule, inspect the root system. If roots begin circling the pot or drainage slows significantly, it’s probably time to repot.
Choosing the Right Soil
Azaleas bonsais prefer slightly acidic, well-draining soil that retains adequate moisture without becoming waterlogged.
Many bonsai enthusiasts use kanuma, a volcanic soil specifically suited to azaleas due to its acidity and excellent drainage. Where kanuma isn’t available, a specialised azalea bonsai mix with similar properties can also work well.
Avoid heavy garden soil or mixes that compact easily, as poor drainage can quickly lead to root problems.
How to Repot an Azalea Bonsai
Repotting doesn’t have to be complicated when approached carefully.
- Prepare the new pot and fresh soil before removing the tree.
- Carefully lift the bonsai from its container.
- Gently loosen the outer roots using a root hook or chopstick.
- Remove old, compacted soil without damaging the fine feeder roots.
- Trim only excessively long or circling roots, avoiding overly aggressive pruning.
- Position the tree securely in its new pot.
- Fill with fresh soil, working it carefully between the roots.
- Water thoroughly until water drains freely from the bottom.
Taking your time during each step helps reduce stress on the tree and promotes faster recovery.
Caring for Your Bonsai After Repotting
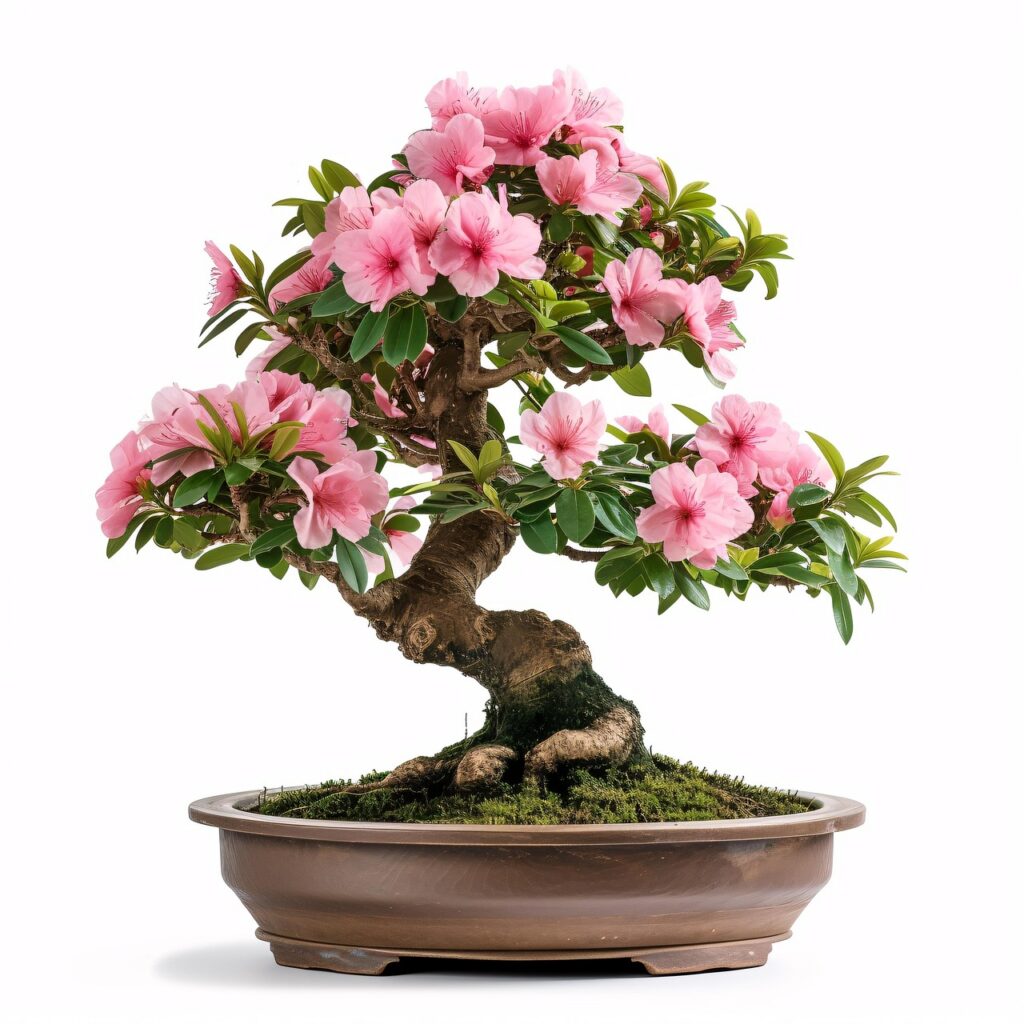
After azalea bonsai repotting, the tree will need a short recovery period.
Place it in a sheltered location with bright, indirect light for a week or two. Keep the soil consistently moist but avoid overwatering. Strong fertilisers should be withheld until the tree begins producing healthy new growth.
It’s also best to avoid heavy pruning or wiring immediately after repotting, allowing the tree to focus its energy on rebuilding its root system.
Common Repotting Mistakes
Many beginners encounter problems simply by trying to do too much at once.
Repotting during the wrong season, removing too many roots, allowing the roots to dry out or using unsuitable soil can all slow recovery or damage the tree. Equally, choosing a pot with poor drainage increases the risk of root rot.
By working gently and respecting the tree’s natural growth cycle, you’ll greatly improve the chances of a successful repotting.
Give Your Azalea Bonsai Room to Thrive
Successful azalea bonsai repotting provides your tree with fresh nutrients, improved drainage and the space needed for healthy root development. Combined with proper watering, fertilising and seasonal care, regular repotting helps ensure your bonsai remains vigorous, beautifully shaped and capable of producing spectacular flowers year after year.
Treat repotting as an opportunity to refresh both the tree and your appreciation for this rewarding bonsai species.